Counter attack in Normandy.
It's Easter Sunday, so what better way to spend the afternoon than with a quick solo game of BCK!
A British Battalion with armour support attempts to hold the fictional French town of Sainte Claire from counter attack by a German SS Kampfgruppe. The scenario is counter attack from the Blitzkrieg Commander rulebook.
OOB is as follows:
British
CO - CV9
HQ - CV 8
5 x Infantry (Regulars)
2 x Infantry (Regulars) w Piat
1 x Vickers MG
1 x 6 Pdr Anti Tank
1 x Honey (Recce)
1 x Sherman 75mm
1 x Sherman Firefly
German
CO - CV9
HQ - CV 8
5 x Infantry (Heer)
1 x Infantry (Heer) w Panzerschreck
2 x MG42
4 x Infantry (Waffen SS)
3 x STUG III
1 x Panther

An overview of the table. The British deploy in the 1/3rd of the table at the bottom of the picture with the Germans coming on from the far edge in the first turn.

Deployed. The British deploy trying to cover the likely approaches for the Germans. The British Infantry in and around the main town itself and near the woods to the west, whilst their armour deploys to the east.
Turn 1
The Germans get off to a rip roaring start with their armour coming on to the east of the main road. They approach the edge of the cornfield gingerly probing for the British and then await further instructions. Meanwhile the Heer moves up towards the woods west of the road whilst the SS moves up in support of the Panzers.

The British tank commander hears the roar of German engines and enthusiastically orders his tanks forward for a better view. In the meantime the Honey zooms up to the woods in the hope of getting a look at the German advance.
At the edge of the Cornfield the British tank HQ spots the approaching Stugs (the Panther being safely out of sight behind the woods) and orders his tanks to open fire. The volume of fire however is disappointing causing only a single hit on one of the approaching assault guns.
In the meantime several Platoons of British infantry advance in the the woods west of the town and take up positions at the edge to await jerry!

Turn 2
The German Panzer HQ is clearly spooked by the incoming fire from the British armour and promptly fails to order his armour to do anything whilst he reassesses the situation. The german Heer however continue their advance to the west of the town and the SS push past their confused comrades in the Panzers and head towards the church. The British tanks, spotting the SS, open fire with their MG's, but only score a single hit. The SS shrug this off and push further up the road.

The British Honey unit attempts to radio HQ with information but thanks to some gremlins in the machinery HQ fails to get the message. Not that this matters to the tank commander who mange to get off 2 successful founds of firing, knocking out one of the Stugs units. First blood to the British!
The Vickers gun in the town opens fire on the SS and successfully suppresses a platoon.

Turn 3.
German armour moves up into a a better firing position and engages the British, a successful round of firing manages to suppress the Firefly unit, but the commanders attempt to keep up the pressure results in disaster as the Panzer units ignore their orders to systemically destroy the British tanks and instead charge out towards them. The German armour is suddenly dangerously exposed!

The infantry fares a little better advancing towards the town. The Heer units round the back of the church are opportunistically engaged by British infantry in the woods who manage to suppress one of the infantry platoons, the German attempt to return fire manages in turn suppress one of the British Platoons. The SS on the road to the front of the church manages to suppress another one of the British platoons in the woods.

The unsuppressed British Sherman platoon uses its initiative to open fire at the Panther unit in the hope of suppressing it. This will probably be the only way of saving their own bacon. Despite scoring a hit the Panther unit fails to be intimidated by the puny fire of the 75mm guns.
The British Tank HQ, instead of calmly ordering his men to keep firing, enters a bind state of panic and blunders! His ability to command is severely comprised unit the end of the next turn. Needless to say his attempt to order his tanks any further fails.
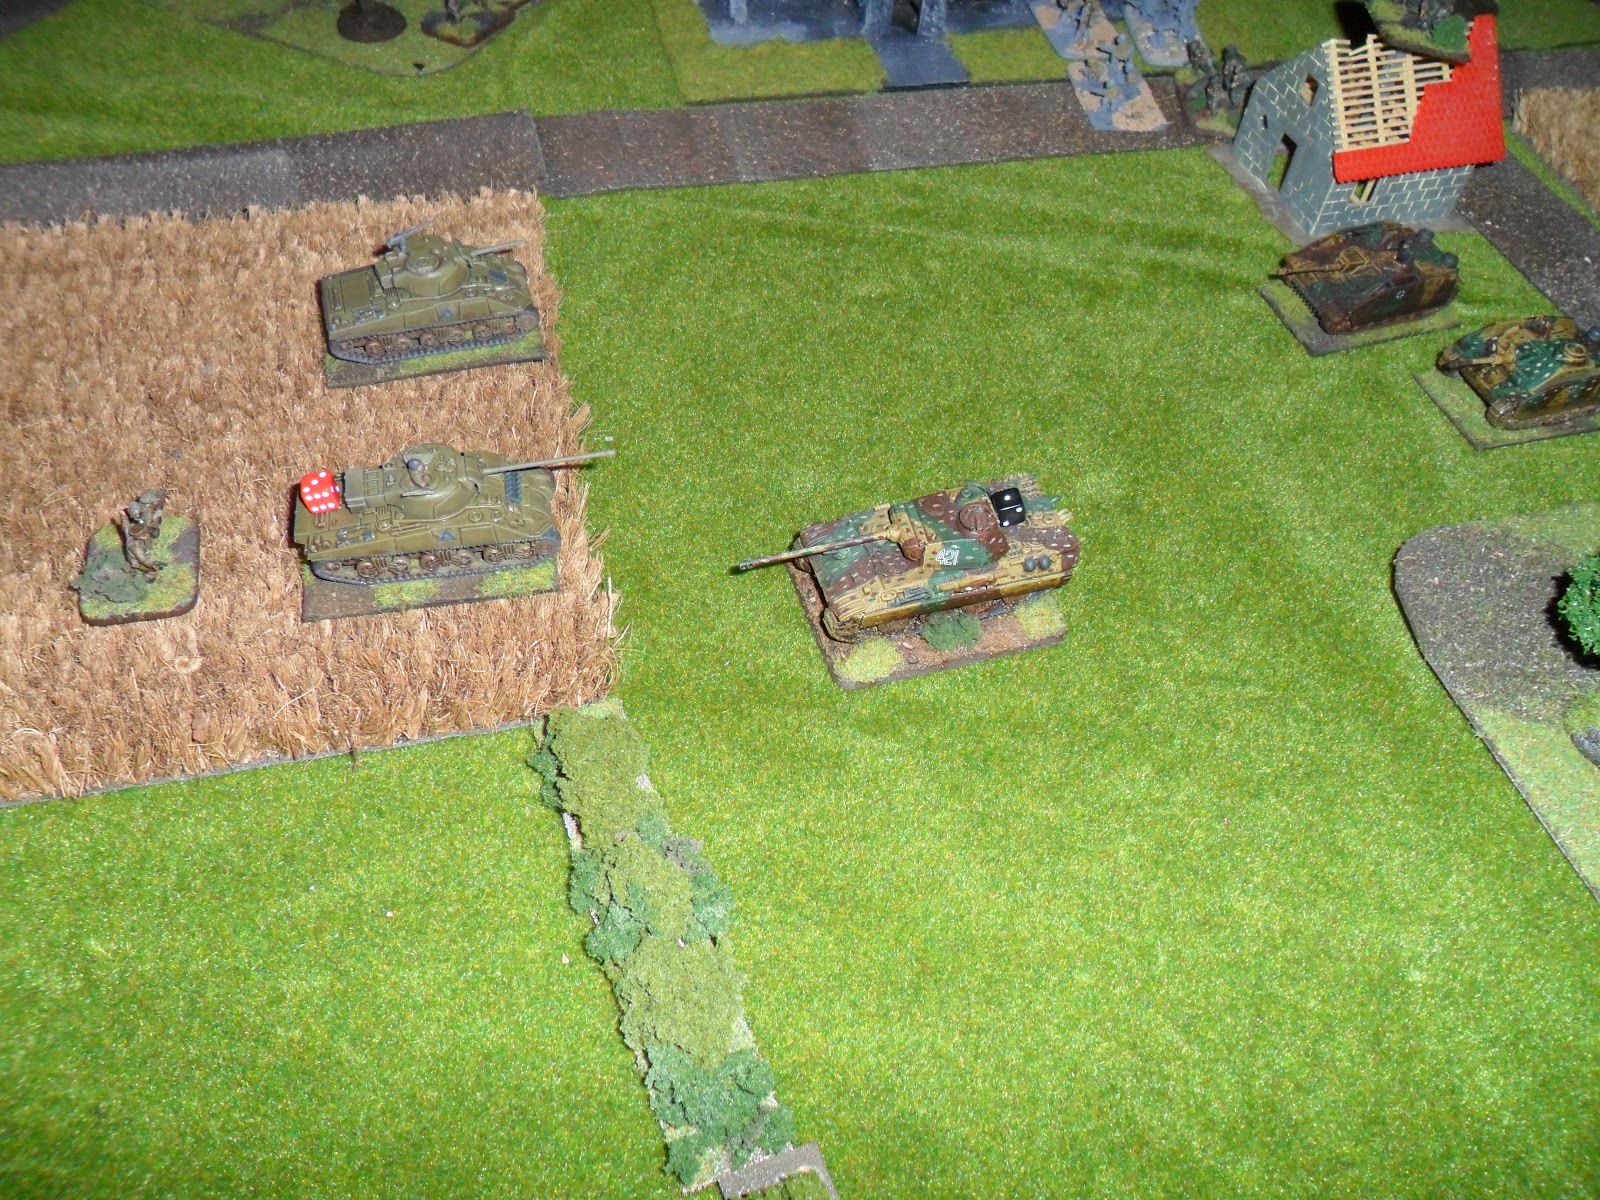
The infantry in the woods open fire and promptly wipe out a Heer platoon and the 6pdr by the crossroads manages to suppress one of the remaining Stug units. Further attempts to open fire however are unsuccessful.

Turn 4.
The German armour now have the British tanks at their mercy and needless to say they don’t show any! The Panther and unsuppressed Stugg units destroy the Firefly and the Sherman 75mm units with 2 rounds of deadly fire. Both units them move up towards the edge of the town. A British infantry Platoon in one of the buildings attempts to attack the Panther with opportunity fire from a PIAT but scores only a single hit.

The German infantry pours fire into the British in the woods. The Heer managing to drive an already suppressed unit back a whopping 18cm, which needless to say destroys it, whilst moving 2 of their own platoons up to try and flank the woods. The SS efforts are even more sucessful, destroying one platoon and driving another back into the middle of the woods.
With 4 units gone, a breakpoint of only 6 and the right flank gone things look very bad for the British!

The British turn however sees a staggeringly rugged display of tenacity as they attempt to salvage what they can can from their situation. The CO in the woods managing to successfully order the British infantry in and around the woods to open fire no less than 4 times!
The result of this heroic action is the destruction of 2 Heer units by the infantry in the woods and a further Platoon being destroyed and another being driven back by a British platoon located in a building behind the woods, which quickly halts any German ideas about flanking the British position. the vickers MG manages to suppress (but not quite destroy) a unit of the SS on the road and the 6pdr drives one of the Stugs back to the edge of the cornfield.
The Germans are now only 2 away from their own break point!
Turn 5
The Panther unit opens fire on the infantry platoon that attempted to ambush it last turn, however it fails to score a single hit. In the Meantime the unsuppressed Stug moves up to to it's side. The British platoon again attempts to fire with the PIAT using opportunity fire but fails to hit the Stug. The Panther and Stug units now open fire on the 6pdr platoon, which has it's flank exposed to them. Needless to say it's swiftly destroyed.

The German infantry now has its own moment of glory with 3 successful command rolls. The Heer open fires on the remaining British Platoons in the woods and manages The wipe out 2 of them. In the Meantime the 3 unsuppressed SS units move into the the woods and destroy the platoon they managed to successfully drive back earlier.

The British have now lost 7 platoons and proceed to fail their check at the start of their turn. With only a handful of men and no armour remaining they withdraw to lick their wounds.


